Showing posts with label Spectrum Noir markers. Show all posts

Monday, October 13, 2014

An Autumn Get Well Card

My good friend's mother recently fell and broke a hip, had surgery and is now in rehab at a nursing home so it is definitely time for a Get Well card! I remember when my own mom fell and broke her hip several years ago, it really frightened and depressed her for the first few days. But she bounced back quickly after alot of encouragement, prayers, therapy and her own determination...along with her special sense of humor! So here is the card I made:


It is a "swing" card...the first I've ever made! I found a tutorial online and decided to give it a try. I think it could be easier if you didn't use double layers but that was what the directions called for.


The base is a kraft card stock and the designer paper is thinner but worked nicely with the die cutting.


I was hoping the Stickles on the teacups and green oak leaves would show up in this photo....oh well, it does show in the photo above. 
How do teacups go with leaves? A hot cup of tea on a cold, rainy fall day is perfect!


The sentiment on inside of the card is really on the back of the swing part...makes a nice space to place either a sentiment or a good-sized image. I'll try to get a list of ingredients together later. If you are curious about what I used just message me in the "comment" section. 
Thanks for stopping by!

Challenges:
http://thekraftjournal.blogspot.com - #193 All That Glitters
http://theshabbytearoom.blogspot.com - #237 Show your shape

Sunday, April 6, 2014

My New Die Set!

What a lovely Sunday afternoon! Sunny and clear...a bit chilly yet, but still a fine day for a walk.
Sadly, I had to make several sympathy cards recently. Have to put 3 more in the mail tomorrow. And because I'm mailing them I decided to take it easy on the bling!


This one shows off my newest die set which was purchased at an outlet store that sometimes get prototypes of items not yet on the market...so I don't even know what the set is called but I'm pretty sure it is from Spellbinders. I love that it is a true rectangle with alot of delicate detail just around the edges. And there are 2 "tag" dies as well as a medium size rectangle. The 2 stamps are from SweetStamps: "With Sympathy" & "Art Nouveau Vertical Border". The floral image was colored with a variety of alcohol markers: Spectrum Noir, Memento, MEPXY.


I stamped the image & sentiment in Memento "Bamboo Leaves".
Added Stickles "Icicle" for a bit of sparkle.

Challenges:

Thanks for stopping by today! Please leave a comment so I can come visit your blog too!

Thursday, December 19, 2013

Tilda having some winter fun...

A wintery red, white and blue card...which wasn't really my intention but it turned out that way! Those colors compliment each other so nicely. And I think Tilda especially likes them! Please ignore the fact that she is out in the snow with only socks on...no boots! Silly girl!


This photo catches the shine of the foil paper, the metallic paint and the pearl embossing.

Here's my list of products used:
Dies - "Catalina Wreath" by Memory Box
"Garden Gate" by Cheery Lynn Designs
Punches - snowflakes (purchased on ebay, brands ??)
Stamps - "Christmas Glamour" by TPC Studio
"Merry Christmas" by Stampin' Up
"Tilda Wants a Hug" by Magnolia
(colored with alcohol ink markers)
Cardstock - all from my stash
Embossing powder - "PearLustre, white" by Stampendous
Glitter glue - "Icicle" by Stickles/Ranger 
Acrylic Paint Dabber - "Metallics, Pearl" by Adirondack

Challenges:
http://cheerylynndesigns.blogspot.com - #111 "Sparkle & Shine"
http://DutchMagnoliaLovers.blogspot.com - #70 Bingo: Snow, Dies, Red

Monday, September 30, 2013

Roses

Today, just a quick post. This sympathy card was made using a new stamp I just got last week, the one with the larger roses. It is from SweetStamps, called "Vertical Roses" and I bought it a their retail store knowing it would match their other rose stamps (which I have 2 or 3 of). I like that it is a larger size of the same roses so I can get a variety of different effects with it. Here I used the small stamp to make my own background paper.


The sentiment stamp is also from SweetStamps. I stamped the images and sentiment in dark brown ink, TH Distress Ink "Walnut Stain". The flowers and leaves are colored with Memento markers and Spectrum Noir markers, then added a touch of Stickles "Star Dust". I used my new Craft-Dee Bowz bow maker too. 
Cardstock, paper, ribbons...all from my stash.
Challenges:
Craft-deebowz.blogspot.com - #CDB05 Anything Goes

Tuesday, August 6, 2013

Another Vintagey B-day Card

I am continuing to show you, my faithful Blogger friends(!), the new Sweetstamps stamps I won recently. This card features 3 of the stamps! They are ATC size so I was able to combine all 3 on one slightly bigger card (bigger than A2...about 5x6). Love the vintage feel and the artsy designs! The series is called "Artsy Fartsy"....so many possibilities! These are: "Italian Handwriting" (left), "Love Birds Collage" (right), and "Crown Butterfly" (top).

 I added just a bit of color the the dk brown stamped images, and fussy-cut around the butterfly image to emphasize the lovely filigree edges. The base of the card is kraft, the background layer is a dark brown and the images are stamped on white...all from my stash. The flower is a torn, rolled rose made from a scrap of Lt blue print with added blue from a marker and distressed edges. The stamped leaves behind it are from the JustRite set "Cast All Your Cares"


The 2 kinds of die cut leaves behind the rose both from Sweetstamps.com too. They are called "Olive Branches" and "Elegant Leaves". And lastly, the tiny tag: the sentiment is from the "Wistful Wishes" set by Clear Dollar Stamps, and the dotted border is from StampingScrapping.com "Fancy Accents".

Challenges:
Sirstampalotchallenge.blogspot.com - August "Wings and Things + a touch of vintage"
Ribbongirls.blogspot.com - August challenge: A Birthday Card
Thekraftjournal.blogspot.com - Make it Monday "Layers"
Onecrazystampercom.blogspot.com - August "Birthday"
Seemacrafts.blogspot.co.uk - August "Butterflies"

A Summer Garden Scene

A white picket fence, pretty climbing roses in full bloom and that soft balmy feel in the air...aahhh, summertime! 
This card features 2 stamps and a die from the Sweetstamps.com store. 

The 2 Sweetstamps stamps I used are "Rose Corner Large" (which I stamped several times to make a whole"bush") and "Vertical Rose Border" (which I placed horizontally at the bottom). The "fence" is a Cheery Lynn Designs die called "Garden Gate". The roses and leaves are colored with Spectrum Noir markers and Memento markers. The background die cut and the small circle are both Spellbinders.
And the little sentiment is from the "Wistful Wishes" set by Clear Dollar Stamps.
Cardstock and ribbon are from my stash.


Here are the challenges I plan to enter this one in:
Cheerylynndesigns.blogspot.com - #92 "Anything Goes"
Cardmaniachallenges.blogspot.com -CMC#26 "Summer Blooms"
Craft-deebowz.blogspot.com - August: "Anything Goes + Handmade Bow"
Liastampz.blogspot.com - #46 "Color Scheme: Pink, Cream, Lt. Green"

Thanks so much for stopping by today! Blessings to you and yours!

Saturday, July 13, 2013

Christmas Card with Vellum

Another "Christmas in July" card...this one using vellum with heat-embossed gold on a lovely frame.
I colored the frame with some pastel Noir markers but the ink didn't take to the vellum too well, got kinda blotchy...but once it dried I like the effect okay...I think.


It is very hard to see but there really IS a layer of vellum on this card!
The gold frame is on it and an oval is cut out of the middle and the ornament is stamped on the cardstock background. I added a "halo" of green in the same oval shape (but bigger) around the ornament for a little added color/interest.

Ingredients:
Stamps - SweetStamps "Elegant Scrollwork Frame",
StampingScrapping "Merry Christmas" (from "Frou Frou" set),
My Heart Stamps for You "Antique Banner"
TPC Studio ornament "Christmas Glamour",
Inks - Ranger/TH Distress Embossing Ink,
Memento "Bamboo Leaves",
Studio G burgundy pigment ink
PSE gold embossing powder
Markers - Spectrum Noir
Card stock - all from my stash

Challenge:
http://SweetStampsblog.blogspot.com - #125 Christmas Parchment (Vellum)

Monday, July 1, 2013

An Old Fashioned Wish

Good morning, blogger friends!
Today is the last day I can enter the "Roses" challenge at SweetStamps...so here goes!


I have combined four of the SweetStamps stamps...my favorite is the "Corner Roses"...one of my newest stamps! But the frame stamp is also a favorite...I've used that one quite a bit lately! The design lends itself easily to adding pearls or rhinestones for an elegant touch.

Close-up of the touch of glitter added, Stickles...my oldest embellishment!

List of supplies used:
Spellbinders die - Standard Circles Lg.
SweetStamps stamps - "Pretty Parchment Frame", "Margery", "Gentleman Joe", "Rose Corner Lg."
colored with Memento & Spectrum Noir markers
Sentiment stamp - JustRite "Special Occasions"
Pizzazz Aplenty rhinestones - 2mm & 4mm Pink
Inks - TH Distress Ink "antique linen", Memento "Tuxedo Black"
Ranger Stickles glitter glue - "Star Dust"

Challenges:
http://shoppingourstash.blogspot.com - #107 "Oldest Embellishment" (Stickles)
http://www.wordartwednesday.blogspot.com - #86 Anything Goes

Sunday, June 9, 2013

Butterflies in a Jar

Happy Sunday!
So far, quite a lovely day!
The past few days I have spent several hours creating one special card...
this one, for my grandson Clayton who "graduated" from 5th grade on Friday.


Clayton is very much an outdoors boy...he loves to fish, catch frogs and toads, and collect insects. So while looking through my Magnolia stamped images I found this empty jar, the butterflies and Edwin with the butterfly net. I wanted to put some of the butterflies in the jar somehow and came up with a clear round window...the butterflies are really mounted on the inside of the card. Lining it all up correctly took a little work (and LOTS of trial and error!) but I'm happy with the results.

Edwin and the butterflies are colored with Spectrum Noir markers, Memento markers, and a few colored pencils. The Congratulations is stamped in Memento "Tuxedo Black", the sentiment on the inside is computer-generated, the Bible verse is in a generic royal blue ink.


Here are the challenges this card was created to"fit" into:
http://clearitoutchallenge.blogspot.com - "Male Card + Use Metal"
http://ourdailybreaddesignsblog.blogspot.com - #157 "Prayers, Blessings Encouraging Scripture"
http://pileitonchallenge.blogspot.com - #22 "Stripes &/or Plaid"


Ingredients:
Spellbinders dies - "Standard Circles Large"
Sizzix embossing folder - "Tim Holtz Dot Matrix"
Card stock (scraps) -American Crafts "Soho Garden" & DCWV "Nana's Nursery"
Foil - coffee can seal
Ink - Memento Tuxedo Black
Congrats stamp - Stampabilities
Magnolia stamped images - Edwin with Net, Jar, Butterflies
Verve Bible verse - 1 Peter 5:7

Sunday, May 12, 2013

Mother's Day!

Today is Mother's Day! Hope all of you had a lovely day today...a very blessed day!
I got to have only 2 of my 6 kids here for lunch today...the others all had plans with other mothers! I had told them that was just fine...we can't get together every year the same now that most of them are married or have steady girlfriends. I had a great day anyway! All of them called or stopped by at some time today and 2 of them brought me hanging flower baskets and my husband gave me the most precious card! 
Tonight I just finished one last Mother's Day card (sorry, I think I said that last week too!) and I will have to just put it away for next year.


Here is my list of supplies used to make this one:
Digital rose & Bible verse image - Imagine That Digi Stamps "Rose Blessings"
colored with Spectrum Noir and Memento markers
Happy Mother's Day sentiment - computer generated
Spellbinders dies - "Labels 15" & "Fleur de Lis Squares"
Patterned card stock - K&Company "Merryweather" &
Webster's Pages "Petite Papers"
White card staock base - Bazzill
Ranger Stickles glitter glue - "Icicle"
Flatback pearls - Pizzazz Aplenty "Pale Pink"
Paper doilly, pink ribbon and pink card stock - from my stash

Challenges being entered:
http://Celebratetheoccasion.blogspot.com - #111 "Happy Mother's Day"
http://clearitoutchallenge.blogspot.com - Anything Goes + 2 or more patterned papers
http://imaginethatdigistamp.blogspot.com - #6 Mother's Day, Rose Blessings
http://sketchandstashchallenge.blogspot.com - #113 Sketch 9
(new stash= digi image, neglected stash= old doilies)

Friday, April 26, 2013

Tilda in Brown Tones

Just one card this evening for one challenge:
http://dutchmagnolialovers.blogspot.com - #55 "Photo Inspiration: Brown Tones"
I plan to send this one to one of the older ladies from my church who can't get out and about any more.


List of ingredients:
Magnolia stamp: "New Years Tilda"
(colored with Spectrum Noir markers and colored pencils)
Spellbinders die: "Labels 20"
Background DP: K&Company "TC Blossomwood"
Martha Stewart border punch: "Doily Lace"
Rhinestones are Basic Grey "Bling It- gold"
Computer generated sentiment
Ribbon, CS, doily are all from my stash

Thanks for stopping by!

Saturday, April 20, 2013

A Springtime Cup of Tea...or Two!

Once again a challenge I wanted to make a card for has the theme "Tea for Two" and I really wanted to use the adorable House Mouse stamp I have called "Feeling Rosey" with Maxwell sitting IN a cup of tea. But since its tea for TWO I thought I'd try doing a reverse stamp. I was surprised how well it worked! I stamped the image on my rubber mat for embossing in my Cuttlebug, then laid my paper on it and pressed evenly. I colored them both using Promarkers, Spectrum Noir markers and a few colored pencils, overlapped the reverse one so you can't see the tea bag tag which printed backwards, of course! So here it is:


The yellow rhinestones don't show up well in the photo but do catch the light nicely when held in your hand or propped for display.


The 2 challenges being entered:

Thursday, April 11, 2013

A Little Humor....A Little Wine

Good evening! Here is a card I made for my dear little mother...she does enjoy a little glass of wine in the evening! I know she will get a kick out of this 'cause she knows my sibs and I love to tease her!


The following 2 challenges asked for something with a bit of humor included so I will be entering this card in those:
http://thedutchmagnoliachickies.blogspot.com - #42 "Comic" (something funny)

My little list of ingredients:
Card stock - K&Co "Julianne"
Ink - TH Distress "Antique Linen" & Memento "Black"
Sentiment stamp - Riley & Company "Funny Bones"
Magnolia image - "Tilda with Wine Bottle"
colored with Promarkers, Memento markers, Spectrum Noir markers, and colored pencils
Ric rac, flowers, rhinestones - from my stash


Saturday, March 16, 2013

My Craft Room

Here is a post I made for the Techniques and Tutorials website that I am a DT member of. Tuesday is my turn to have a new "tutorial" ready so I decided to show what I do for storage and organization in my craft room. Thought I'd post it here too because that site requires a paid membership (which IS worth it!). To learn more about it just click on their icon in my sidebar!


The Storage & Organization of My Craft Room
                                   …such as it is!

Welcome to my craft room!
Today I’d like to just show how I have organized my supplies and tools to make my craft time more productive and enjoyable. I have found that to have a (somewhat) neat and organized work area is essential to my creativity. I have collected quite an extensive supply of crafting materials (Thanks, Cindy!) and have found that if I can’t easily find them I don’t ever use them! So I like to have as many things as possible “at my fingertips” without having a cluttered work area.
Just to let you know before I get started, all the * (starred) items are available at www.stampingscrapping.com.

My work table (facing east)

What I keep close at hand: on the right, small paper cutters, tape gun, boxes of paper scraps (one is just small white pieces for sentiments); and on the left is a basket with odds and ends such as die cuts, stamped images and embellishments I made and didn’t use (yet), a box with stamped and computer-generated sentiments, categorized by occasion, my stamp-cleaning pad, wet wipes, McGill cushion pad* & tools*, and my new favorite: a little tray for holding my tiny Tsukineko sponge daubers*! The tray is a Crafters Companion* for holding Copic markers but the daubers fit perfectly. In the middle of my table is a self-healing Creative Memories pad with a grid on it, some Tim Holtz applicators*, Stickles*, my can of colored pencils and my glass container of miscellaneous tools, pens, scissors, tweezers, etc.
Under the table I have most of my wooden stamps* in the three-drawer box and in containers on the shelf below: the clear & cling stamps* are in the basket and box and need to be organized much better! I’m open to suggestions for these!! Wastebasket on right (I’m right-handed) and way in the back is a little shelf unit with all my old photos waiting patiently to be put into albums…LOL! 

 To the left of my table (facing north) is a small desk where I keep my sewing machine ready for use, with boxes of thread, needles, bias tape, etc. underneath. I picked up the tall shelf unit at a garage sale for $4, had my husband drill holes in the sides for ribbon rods and then packed it full of ribbon and trims of all sorts. The shorter ribbon holder Cindy helped me get from a friend! (I use the tops of every cupboard to display cards.) On the left is my paper/cardstock holder cube – note that the slots are vertical. I had it horizontal for several months until I saw someone else’s online and realized it is so much easier to get papers in and out this way…duh! The file cabinets, desk and tables in my craft room are all old office furniture that I got at an auction “dirt cheap” (like $25 for all of it!). It is SO heavy…like moving a dead pig…so Hubby said to be very sure this is where I will keep my craft room forever! No problem! I’m just SO thankful to have a whole room to have all my “stuff” in! (It does have to double as a nursery when the grandbabies need a quiet place to sleep…I just put the Pack&Play in the middle of the room where little hands can’t reach any of my goodies!

                                 Raised  work table (facing west)

This table is raised about 6” with plastic leg supports so it is ideal for standing at to cut, emboss, and use my glue gun or heat embosser…those are stored under the table and connected to a power strip. On the table I have my large paper cutter (found at a flea market), my Cuttlebug (still my favorite!) and my Spellbinders Grand Caliber. In the corner are the SGC plates & mat, and  all my Pack N Store* notebooks with most of my dies; the rest are on magnetic sheets* attached to my bulletin board or on 2 clip boards with magnetic strips to hold them. All are labeled with names, but the Card Creator sets* I need to go back and organize correctly and number each die because I’m sure I didn’t put them back right! The little shelf unit holds all of my embossing folders, Cuttlebug plates, and several jars of buttons, all organized in baggies by color.
The bulletin board is just a piece of cardboard covered with cloth and framed. On it I put all kinds of items that mean something special to me…just for fun!


In file drawers (left): embellishments*,     
odds and ends, back-up supplies.  

In file drawers (right): sentiment stamps,
inks*, 8x10 papers/card stock/plastics/etc.

Here are more pix (some close-ups) of certain areas in my craft room:
I use paper-covered boxes to store many             My large button jars are from Hobby   items;.justmade the small one to hold my              Lobby, but any clear jars work great!
small embossing folders that kept getting              I even decorated a few: my color theme
lost & ignored. The large folders are just               for my craft room is black & white with
held in a small black letter holder.                        accents of pink and green.

 Punches just piled under ribbon! Hmmm…

Inside the PackNStore notebooks

My huge box of scraps! The white envelopes
hold really small scraps! Yes, I’m Dutch!!

My 12x12 paper, solids separate and
prints divided by main color, labeled.

Now, as always, I am open to questions, comments and suggestions! Please!
You can message me through this Techniques and Tutorials website or contact me via my email: fivensandie@aol.com
I’d love to hear from you! I’d LOVE it if you’d share some pix of YOUR craft area and ideas on how to organize and store craft supplies! If you’ve seen something but can’t find it in a store or online, just ask Cindy…she can find ANYTHING!
Thanks so much for reading all the way to the end!!

Sandie Lobbezoo   (aka ScrappySandie)

PS – A little treat for you all! Well it was a treat for me anyway…to meet Stephanie in person and spend a little fun time with Cindy and her, last spring!

Me, Cindy, Steph - May 2012

******************************************************************************
Well, that was my "tutorial"...what do you think? Any questions? Thanks for stopping by today! Hope you are having a wonderful weekend. We are going out for dinner tonight with good friends who we haven't seen for over 3 weeks now! I'm ready for a gab fest! Bye now!
Blessings to you all!

Tuesday, February 19, 2013

Happy Retirement! Me Too!

Well, it is Tuesday again, time for another Shopping Our Stash challenge! This week's challenge is all about using really old DP (designer paper)...any paper or cardstock with a print on it. And not just OLD but the OLDEST in our stash!
Challenge #90: Use Your Oldest Designer Paper

 I had to really dig for this one AND test my lazy memory! I chose an outdoorsy pine tree paper that I bought way back when I only did some scrapbooking, in my pre-card making days...I'm thinking around 1995 or earlier. Here's what I did with it:


My brother just retired from US Gypsum after 33 years so I sent him this card and it should arrive there today. Hope he likes it! The cute "guy" image is from Pollycraft called "Maurice-Ready for business". I colored him with Memento & Spectrum Noir markers. And that DOES kinda look like my brother! He was the IT guy (geek) at USG, has worn glasses forever and is definitely kinda pudgy! But the tie...nope, only at funerals!


The sentiments on the front and on the inside, and the Bible verse, are computer-generated (that font is called "Fineliner Script"), the old DP is from Hobby Lobby and the rest is just from my stash; the die cuts on the front are Spellbinders Labels 15 and the little sparkle dots are EK Success.

I'm entering this card in just a few challenges:
http://craft-roomchallenge.blogspot.com - "Something for a Man"
http://guylousinimitability.blogspot.com - "bingo Card Challenge"- I used the middle row across: starts with a G (Guy in Glasses), *FREE*(bling), die cut

So, about MY retirement...well it is not from a job, it is from this DT! I decided to step down from Shopping Our Stash too. I left another DT last month and decided I needed to simplify even more yet. This is my last contribution to the SOS team. This has been such a fun design team to serve on! My fellow DT members are SO creative and witty and funny! It has been a pleasure to get to know these uber-talented girls! Thanks, Girls, for sharing yourselves a bit with me, especially the individual creative genius each of you brings to SOS! I will miss the weekly interaction but will definitely be popping in to check up on everyone from time to time. Thanks especially to Carla for her patience and encouragement as well!

And thank you, Reader, for stopping by today and diligently reading all the way to the bottom!! I hope you are inspired to join in this challenge that should certainly help you use up some of your stash!
Have a very blessed day, my friends!

Wednesday, February 13, 2013

Love, Love, Love!

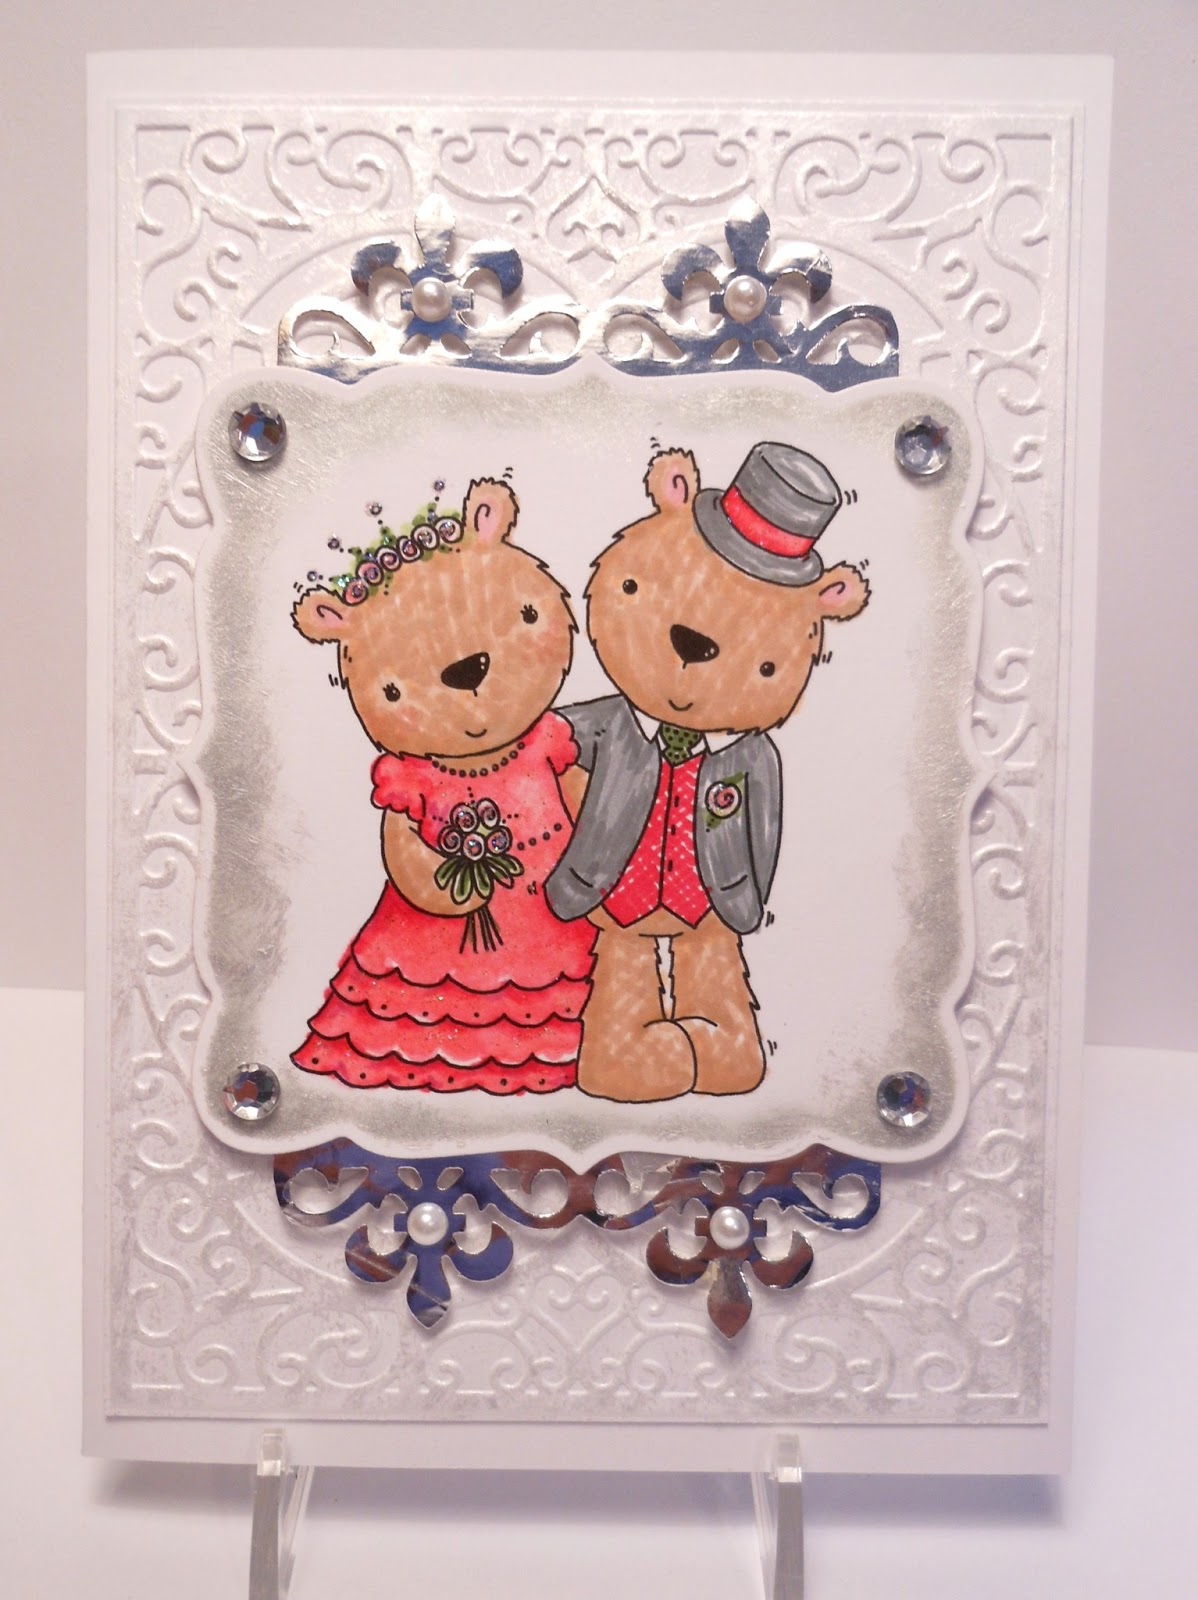
Today I'd just like to show you all a card I made for a very special couple from my church. They just got married last week! They are 81 & 78 years old! They are like youngsters in love....it is SO cute! We are so happy for them! They are both very active, healthy, vivacious people, both love the Lord...a great match!


The bride wore a lovely light red dress for the wedding so I colored the image accordingly!
The foil is actually some very old gift wrap. It doesn't show up well in the photo but there is pearl acrylic paint daubed on the embossed background and on the gray sponged ink as a frame around the image. Stickles were added only to the flowers...and to the heart on the inside of the card.


On the inside I wanted to carry through the "scrolly" idea and still keep it simple.
I thought the Bible verse was so appropriate because I remember the groom saying to me shortly after they got engaged, "Who would have thought we could feel like teenagers in love again?"

Here is my list of ingredients:
Card front
Cuttlebug embossing folder*- "Madison"
Spellbinders dies*- "Labels 15" & "Fleur de Lis Accents" (border)
Pollycraft digital image- "Cuthbert & Kiki Wedding" colored with
Spectrum Noir & Memento markers*
Memento ink*- "London Fog"
Adirondack Metalics paint dauber*- "Pearl"
Ranger Stickles*- "Star Dust"
Clear gems & white pearls- from my stash
Card stock and foil- from my stash
Card inside
Sentiment is computer generated
Spellbinders dies*- "Card Creator" (used for mask for sponged frame) &
"Fleur de Lis Accents" (corners)
JustRite Bible verse*- "Cast All Your Cares"
Inkadinkadoo heart stamp- "Love & Friendship"

*these items all came from my friend Cindy's wonderful online store www.stampingscrapping.com

I am entering this card in several challenges, some of which want us to use up old stuff from our stashes of supplies (I LOVE those challenges that make me rediscover and use up neglected items!). The really old and/or neglected stuff is: the Spectrum Noir & Memento markers, the clear gems, the foil and the Inkadinkadoo stamp.

http://celebratetheoccasion.blogspot.com- #99 "Valentine-Anything Goes"
http://diecuttindivas.blogspot.com- #102 "Color- Red, Pink, Purple and/or White"
http://sweetstampsblog.blogspot.com- #104 "Romance Challenge"
http://craftdoormagazine.com- TTCRD #2013-7 "Anything Goes"
http://clearitoutchallenge.blogspot.com- "Stash: red/white items- Anything Goes"

Thanks so much for stopping in today! I would love it if you'd leave a quick comment....I'd like to visit your blog too!

Tuesday, February 12, 2013

Happy B-day to Clayton & Calvin!

Its Tuesday again and time for another Shopping Our Stash challenge! This one was perfect timing for me...I had 2 birthday cards I had to make for 2 of my grandsons. Yep, that's this week's theme:
Challenge 89 - Birthday theme- birthday card or layout, tag, etc.


Clayton's card

Clayton just turned 11 and his 2 main interests are 'video' games (I think they are called something else now!) and skinny jeans. We got him a couple pairs of skinny jeans and he was quite pleased....whew! It helped that his older sister told him they were cool. (Thanks, Pearl!)
For his card I wanted something not "little boyish" so I drew a simple pair of jeans, long and skinny, and painted the image with watercolor paints. Added a sideways sentiment and a little strip of denim* with faux stitching instead of ribbon. And not even any Stickles! But the brad does have a black rhinestone!
*the denim has been hanging around my laundry room for years for patching (which I haven't done in years!)

Calvin's card

Inside

For calvin, who is only one year old, I could still do a cutsie little-boy card! The image is a digital one from Pollycraft Stamps called "Frog" (go figure!). He is colored with Spectrum Noir and Memento markers. I used my Spellbinders Standard Circle die and Lg Scalloped Circle die, Microsoft Word to make the "1st", Stampin' Up HB stamp, and several really old buttons. On the inside the greeting is computer generated and the Bible verse is a JustRite clear stamp. The striped paper is a few years old and was a bit dog-eared...had to trim all the edges to use it. Super-old heart stickers too!

Everyone needs birthday cards frequently, right? Why not whip one up and join the challenge at SOS this week. We'd love to see what you create!

I'm also going to enter these in a few challenges:
Skinny Jeans card-
http://fairytale-challengeblog.blogspot.com/- #60 "Sewing, Real or Drawn"
http://craftsandmechallenges.blogspot.com/- #119 "Favorite Color Combo" (red, black, white)

Frog card-

Saturday, January 26, 2013

Two Special Cards

First up is a baby card for my Pastor and his wife for their first baby,
a tiny girl named Anna!
I used a digital image from A Day for Daisies called "Mom Hugs"...one of my favorites!


The background paper is Fiskar/Heidi Grace Designs and it says "little sweet pea" on it...SO cute! The pink paper is embossed with the tiny hearts folder from Cuttlebug and the punched border is also Fiskar. The image is colored with Spectrum Noir markers and colored pencils. A little bit of Stickles is added to the  baby's head and shoulder.


Inside there is a Bible verse on the left and my own greeting on the right, both are computer generated.
I am entering this in two challenges: 
http://celebratetheoccasion.blogspot.com - Challenge #96 "Baby Card"

~~~***~~~

My next card is a birthday card for my very good friend Sherry. She is also a cardmaker so I decided to do a little special stuff on this one...I knew she'd appreciate it more than some folks!


 I used stitching, a vintage sewing machine image, some victorian women in a free image I found online, vintage "swan" scissors and thread (also freebies I found online), and an image of an old-fashioned dress form from StampingScrapping.com. I also added a little lace "skirt" to the dress form. "Labels 20" Spellbinders dies were used for the sentiment and the inside greeting. The purple flowered paper is from Hobby Lobby and all the rest...from my stash. Flatback pearls are from Pizzazz Aplenty. The "Best Wishes" stamps: outside is a generic borrowed from a friend, inside is PSX.

I am entering this one in:
http://craftsandmechallenges.blogspot.com - Challenge #117 "Vintage"
http://inkychicks.blogspot.co.uk - Challenge #2 "Becky's Bingo Grid" (Die cuts, bow, pearls)